wearable sensor accuracy protocol HRV SpO2
Goal: improve HRV and SpO2 accuracy from wearable sensors
When you track HRV (heart rate variability) and SpO2 (blood oxygen saturation) with a wearable, the biggest threat to accuracy is not the hardware alone—it’s measurement conditions. Motion, poor sensor contact, incorrect placement, ambient light, irregular breathing, and inconsistent routines can all distort readings and make your HRV metrics look unstable or your SpO2 appear artificially low.
This guide gives you a wearable sensor accuracy protocol specifically designed to improve the quality and repeatability of HRV and SpO2 measurements. It focuses on a repeatable workflow, artifact prevention, and practical checks you can apply before you interpret trends.
Preparation: what you need before you measure
Before starting the protocol, prepare your environment and your body so the wearable can capture stable physiological signals.
- Wearable device and app: Ensure firmware and app updates are installed. If your device supports different measurement modes (sleep, resting, workout), use the mode that matches your protocol.
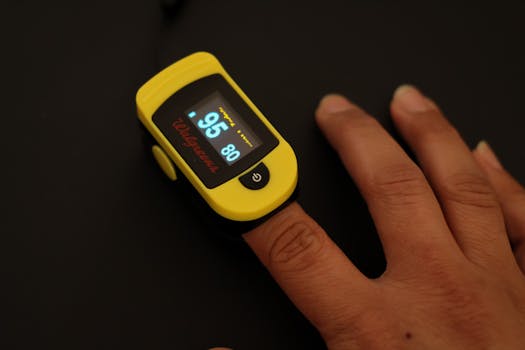
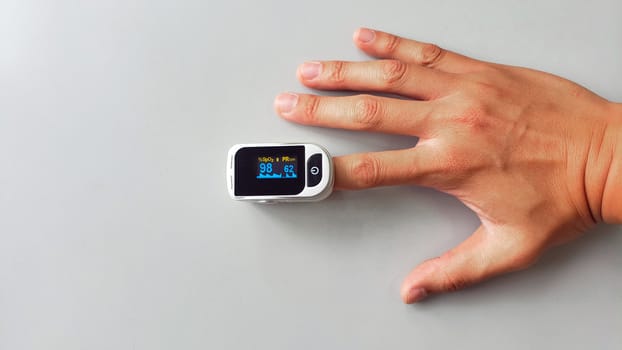
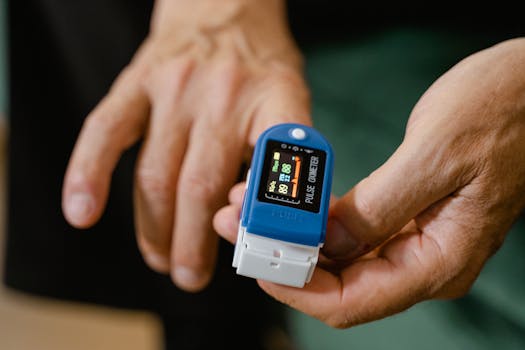
- Proper sensor contact: A snug fit without excessive tightness. For wrist devices, ensure the optical sensor area sits flat against the skin.
- Skin readiness: Clean, dry skin. If you sweat heavily, wipe the area and let it dry for a minute.
- Stable environment: Aim for comfortable room temperature and low airflow. Avoid direct sunlight or strong overhead lighting hitting the sensor.
- Time buffer: Plan for a settling period (often 2–5 minutes) before you begin recording for HRV/SpO2 quality.
- Optional but helpful: A timer and a consistent breathing cue (for example, counting breaths) if you’re testing during wakeful resting.
Step-by-step wearable sensor accuracy protocol for HRV and SpO2
Follow these steps in order. Treat them as a “measurement ritual” so your data is comparable across days.
1) Choose a measurement window that matches your goal
HRV is highly sensitive to autonomic state. Pick a consistent window such as:
- Morning resting after waking, before caffeine and significant activity.
- Evening wind-down after dinner and before sleep, if your device is used for sleep-related HRV.
- Pre-workout rest if you need a baseline before exercise.
Keep the timing consistent. If you compare HRV across days, don’t mix post-exercise values with true resting values.
2) Position the sensor correctly and verify fit
Sensor placement errors are one of the most common causes of low-quality data.
- Put the wearable on the same wrist/side every time.
- Position the sensor area so it fully contacts the skin (not hovering over a tendon or bony area).
- Adjust the strap so it’s snug enough to prevent movement when you gently shake your wrist, but not so tight that it causes discomfort or numbness.
- If the wearable is designed for a specific placement (for example, certain models prefer a few centimeters above the wrist crease), follow the device’s placement guidance.
Practical check: during the settling period, minimize wrist motion. If your sensor readings fluctuate widely while you’re still, placement or fit is likely part of the issue.
3) Control motion and posture during the settling period
Optical sensors rely on stable blood volume changes and consistent pulse wave patterns. Motion introduces artifacts that can distort both HRV and SpO2.
- After wearing the device, sit or lie down quietly for 2–5 minutes.
- Keep your wrist still and supported if possible (rest your arm on a pillow or armrest).
- Avoid talking, yawning, and frequent head turns during measurement.
- Use the same posture each time (for example, seated with back supported).
If you’re measuring in bed, ensure the wearable isn’t sliding with each breath or movement. Sliding changes contact pressure and can cause SpO2 dropouts.
4) Stabilize breathing and reduce physiological variability
HRV reflects autonomic regulation and is influenced by respiration. SpO2 can be affected by breathing pattern and airway status.
- For resting HRV, use natural breathing and avoid intentionally deep or rapid breaths.
- If you’re testing a “controlled breathing” protocol, keep it consistent (same breathing rate, same duration, same posture) and interpret HRV within that context.
- For SpO2, avoid measurements during breath-holding, coughing, or immediately after intense swallowing.
Practical example: If you track HRV daily, measure after you finish a bathroom routine and sit quietly until your breathing returns to baseline.
5) Start recording only after signal quality stabilizes
Many wearables provide a signal quality indicator or internal confidence score. If your device shows such information, use it.
- Begin measurement when the device indicates stable tracking (for example, no “searching” message).
- Wait through brief initial fluctuations. Do not start interpreting HRV/SpO2 immediately at the first readings.
- Record for a consistent duration each time (for example, 5 minutes for a resting check).
If your wearable doesn’t provide a quality indicator, rely on behavior-based cues: stable stillness, correct fit, and consistent timing tend to produce more stable HRV/SpO2 traces.
6) Use consistent environmental lighting and temperature
Optical sensors can be influenced by ambient light and skin perfusion changes.
- Avoid direct sunlight on the sensor area.
- Reduce strong overhead lighting that flickers (some LEDs) if you notice repeated spikes.
- Keep room temperature stable. Cold extremities can reduce blood flow and worsen signal quality.
Practical example: If your HRV becomes erratic on cold mornings, warm your hands/forearms for a few minutes before measuring. Then repeat the protocol.
7) Check for artifacts and exclude obvious low-quality windows
Artifacts show up as sudden HRV instability, SpO2 dropouts, or repeated “unreliable” periods.
- Look for SpO2 readings that fall abruptly and immediately recover while you’re otherwise still. If this repeats, treat the window as low confidence.
- For HRV, watch for values that dramatically swing during a period that should be calm. If you moved, talked, or adjusted the strap, exclude that segment.
- If your app allows you to view raw or segment-level data, keep only segments marked as reliable or stable.
Don’t “smooth away” artifacts by ignoring them. Better to repeat the measurement under improved conditions and compare like-with-like.
8) Confirm HRV and SpO2 are measured in comparable physiological states
To interpret trends, ensure you are not mixing different states.
- For HRV, compare resting-to-resting days. Avoid comparing post-exercise HRV with morning baseline HRV.
- For SpO2, avoid measuring during congestion, acute illness, or immediately after heavy exertion unless that’s the specific condition you’re studying.
- If you track sleep HRV/SpO2, keep bedtime and wake time consistent. Changes in sleep timing can shift respiration patterns and HRV baseline.
If your wearable supports different measurement modes (resting vs sleep), use the mode that matches your intended analysis rather than relying on mixed contexts.
9) Repeat the measurement and use a quality-based rule
Single readings can be misleading. A short repeat helps you verify stability.
- After the first measurement, keep the sensor in place, remain still, and run a second measurement after a brief pause (for example, 1–2 minutes).
- Prefer sessions where both runs show stable SpO2 and consistent HRV patterns.
- If the second run is much better, record the better-quality session and note what changed (fit, temperature, motion).
Quality-based rule example: if SpO2 shows multiple brief dropouts during stillness, redo the measurement after adjusting fit and warming the skin.
10) Log conditions that commonly affect accuracy
To improve your protocol over time, record a few context variables.
- Time since caffeine and time since last meal.
- Body temperature or whether you were cold.
- Activity in the previous 1–2 hours (especially heavy exercise).
- Sleep quality if you’re comparing to morning HRV.
- Device placement notes (same wrist, same position).
This doesn’t require complex tracking. A simple daily note helps you interpret anomalies without guessing.
Common mistakes that reduce HRV and SpO2 accuracy
- Measuring right after movement: HRV and SpO2 stabilize after you become still. Starting too early increases variability.
- Loose straps or sliding: Even slight movement changes optical contact and can cause SpO2 dropouts.
- Over-tightening: Excess pressure can impair circulation and worsen signal quality.
- Cold hands: Reduced peripheral blood flow can weaken the optical signal, leading to unreliable readings.
- Direct light on the sensor: Sunlight and certain lighting can interfere with optical measurements.
- Talking or gesturing: Motion artifacts contaminate optical pulse detection and HRV calculations.
- Comparing different measurement states: HRV from post-exercise periods won’t match HRV from resting wakefulness or sleep.
- Ignoring repeated low-confidence segments: If a wearable repeatedly flags unreliable tracking, treat the data cautiously and re-run under better conditions.
Additional practical tips to optimize your protocol over time
Once you follow the core steps, small improvements can significantly increase consistency.
Use a consistent strap tension and placement marker
After you find a reliable fit, keep it repeatable. Many people mark the strap position on the band (not the device itself) so they can return to the same tension each time.
Standardize the measurement duration
Choose a fixed duration for resting checks (for example, 5 minutes). Longer is not always better if the wearable begins to drift due to restlessness or posture changes. Consistency matters more than maximum length.
Separate “baseline” from “condition” tracking
When you’re studying how HRV or SpO2 responds to a condition (illness, altitude exposure, recovery after training), keep baseline measurements separate from those sessions. This prevents confusion when the body’s physiological state changes.
Keep firmware and settings consistent
Wearable apps sometimes update algorithms or measurement behavior. If your device updates, re-check your protocol for a few days and confirm that signal quality and trends remain stable under the same routine.
Consider device-specific features thoughtfully
Some wearables offer dedicated sleep SpO2 tracking, resting HRV windows, or “workout” modes. Use these features according to your goal rather than forcing a one-mode approach. If your device provides guidance like “wear snugly” or “place above wrist bone,” follow it consistently.
When to repeat rather than interpret
Repeat the measurement if:
- SpO2 shows repeated abrupt dropouts while you’re still.
- HRV appears unusually erratic compared with your typical resting pattern for that time of day.
- You adjusted the wearable mid-measurement.
- You were cold, recently active, or breathing unusually.
This is the simplest way to reduce false conclusions without needing advanced signal processing.
Be cautious with medical interpretation
Even with a strong wearable sensor accuracy protocol, consumer devices can’t replace clinical measurement. Use your results for tracking and pattern recognition. If SpO2 readings repeatedly suggest significant oxygen desaturation or if you have concerning symptoms, seek clinical assessment rather than relying solely on wearable data.
Practical example workflow you can repeat daily
Here’s a concrete example that follows the protocol closely:
- Wake up, use the bathroom, and avoid caffeine for the measurement window.
- Put the wearable on the same wrist and position as usual.
- Sit upright with arm supported and remain still for 3 minutes.
- Start a resting measurement and keep natural breathing.
- Record for 5 minutes. If the app shows signal quality, wait until it looks stable.
- Check for SpO2 dropouts or obvious HRV instability. If present, adjust fit and repeat once after a short settling period.
- Log whether you were cold or had unusual sleep, then compare only like-for-like days.
Over time, this routine reduces measurement noise and makes real physiological changes easier to detect.
Conclusion: treat accuracy as a process, not a one-time setup
A wearable sensor accuracy protocol for HRV and SpO2 works best when it’s repeatable. Correct placement, a calm settling period, controlled motion, stable lighting and temperature, and quality-based exclusion of artifacts will improve the reliability of your measurements. With consistent conditions, your wearable data becomes more trustworthy for tracking trends—so you can focus on meaningful changes rather than measurement noise.
04.12.2025. 21:49