

How to Measure Resting Heart Rate Accurately (Step-by-Step)

Why accurate resting heart rate measurement matters
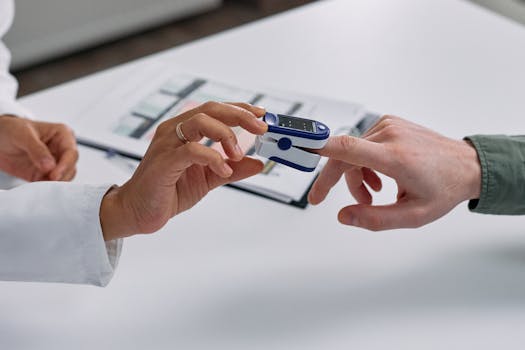
Your resting heart rate (RHR) is a simple number, but it can tell you a lot about your baseline cardiovascular status, recovery, stress level, and changes over time. The catch is that RHR is sensitive to timing, posture, hydration, sleep, caffeine, and even room temperature. If you want your number to be meaningful, you need a repeatable method.
This guide shows you how to measure resting heart rate accurately using a consistent routine—whether you measure manually or with a wearable. You’ll learn what to set up beforehand, how to take the reading correctly, and what to avoid so your results are stable enough to track.
What you need before you start
Before your first measurement, set up a routine that you can repeat daily. Consistency matters more than the device.
Choose your measurement method
- Manual: Use your fingers to count beats at your wrist or neck.
- Wearable: A chest strap or optical wrist sensor can work well if you use it consistently.
Required tools and setup
- A clock (phone timer with seconds) or stopwatch.
- Clean, comfortable environment (quiet room, stable temperature).
- Optional: A heart-rate chest strap (often more consistent for RHR) or a reliable wrist tracker.
- Optional: A simple notes app or spreadsheet to record date, time, and conditions.
If you use a wearable, make sure it’s charged and paired correctly before you go to bed. If you measure manually, sit or lie down where you can stay still for the full measurement window.
Step-by-step: how to measure resting heart rate accurately
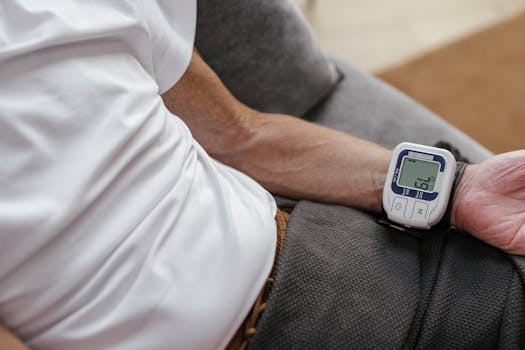
- Pick the same time every day. The most consistent approach is immediately after waking—before you get out of bed. Aim for a consistent window, such as within 5–10 minutes of waking.
- Remove common “false elevation” factors. For the most stable baseline, avoid intense exercise the day before, and try not to measure right after a stressful event. If you can, avoid caffeine for at least 6 hours before your morning measurement, and keep alcohol and heavy meals earlier in the day rather than late at night.
- Start from true rest. Lie down or sit quietly for 5 minutes before you begin counting. Your body needs time to settle after waking, moving, or getting into position.
- Choose a posture and keep it the same. For example: lie on your back or sit with your back supported. Avoid measuring while standing or pacing. Posture can shift your heart rate by several beats per minute.
- Manual measurement: find the pulse. Use two fingers (not your thumb) to locate the pulse on your wrist (radial artery) or along the side of your neck (carotid). Apply light pressure—too much can affect the reading.
- Manual measurement: count long enough for accuracy. Count beats for 60 seconds if possible. If you must count for 30 seconds, double it—but 60 seconds reduces error. Keep your hand steady and avoid talking.
- Wearable measurement: confirm it’s in a true resting state. Sit or lie still for 5 minutes, then check the wearable’s displayed heart rate. If it’s still fluctuating widely, wait until the number stabilizes before you record it.
- Take more than one reading. Do two readings, separated by 1–2 minutes of quiet rest. If the two numbers are close (for example, within 3 bpm), record the average. If they differ a lot, repeat once more.
- Record your measurement with context. Write down: date, time, method (manual or wearable), and any notes that might affect RHR (poor sleep, illness, unusually stressful day, very late dinner). This makes trends easier to interpret later.
- Track for at least 7–14 days before judging changes. One high or low day doesn’t mean much. Resting heart rate can naturally vary. Use a 7-day average to smooth out daily noise.
That’s the core process. The goal is a repeatable baseline you can trust.
Common mistakes that reduce accuracy
Even good intentions can create “bad data.” Watch for these issues:
- Measuring at random times. Your RHR changes across the day. Measuring at 8:00 a.m. one day and 4:00 p.m. the next creates a moving target.
- Counting too briefly. Counting 10–15 seconds and multiplying can introduce noticeable error, especially if your pulse is not perfectly regular.
- Checking right after activity. If you walk to the bathroom, climb stairs, or rush around, your heart rate can stay elevated. Wait 5 minutes of rest before you record.
- Talking, moving, or crossing your legs. Small movements can affect heart rate. Keep still and relaxed.
- Using inconsistent posture. Standing RHR is often higher than seated or lying RHR. Choose one and stick to it.
- Relying on a wearable without checking stability. Optical sensors can pick up motion artifacts. If the number is jumping around, pause and let it settle.
- Ignoring temporary factors. A cold, dehydration, poor sleep, fever, or a late heavy meal can legitimately raise RHR. Record these so you don’t mistake normal physiology for a problem.
- Making conclusions from a single day. Use averages over at least a week to avoid overreacting to normal variation.
Additional practical tips to improve consistency
Once you’ve mastered the basic steps, these refinements can help your readings become even more reliable.
Standardize your “pre-measurement” routine
If you want your RHR to reflect your baseline, keep the day before and the morning routine as consistent as possible. For example, if you measure after waking, try to keep bedtime and wake time within a reasonable range (even 30–60 minutes of variation can matter for some people).
A practical target: for 2 weeks, keep caffeine timing consistent and avoid hard workouts within 24 hours of your RHR measurement.
Use a stable environment
Room temperature affects circulation. Measure in the same general environment—no measuring right after stepping into a cold room or right after a hot shower.
If you live in a place with big temperature swings, try to measure in a room that stays closer to your usual temperature.
Make your manual method repeatable
Manual counting works well when you’re consistent. Use the same location each time (wrist or neck), and use the same counting duration (ideally 60 seconds). If you’re unsure, take two readings and average them.
Example: If you count for 60 seconds at your wrist and get 62 bpm, then pause and count again after a minute and get 64 bpm, your recorded value could be 63 bpm.
Get the most from a wearable
If you use a wrist tracker, it helps to wear it snugly and consistently. A loose strap can lead to undercounting or noisy readings. If you’re serious about tracking trends, a chest strap is often more stable during rest because it uses a different sensing method than wrist optical sensors.
For example, you might use a chest strap for 1–2 weeks to establish a baseline, then continue with your wrist device once you know your readings are aligned. Soft recommendation: don’t switch methods every day. Switching devices or sensor types can create artificial “changes.”
Turn readings into useful trends
Instead of reacting to single-day changes, look for patterns. A practical approach:
- After 7 days, calculate your average RHR.
- After 14 days, compare the 2-week average to the previous 2-week average.
- Only treat a meaningful change as “real” if it persists for multiple days.
If your average rises and you didn’t change sleep, hydration, or training, it may reflect stress, illness, or recovery issues. If you’re monitoring for a specific goal (like improved fitness), this trend approach keeps you from chasing normal fluctuations.
Real-world scenario: morning routine that produces reliable numbers
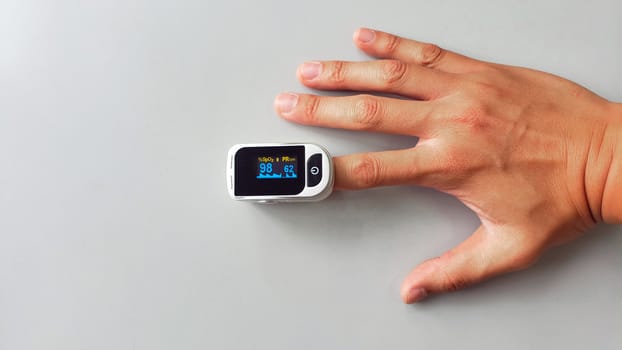
Let’s say you want to monitor whether your recovery is improving after training. You start measuring every morning.
On weekdays, you wake at about 6:30 a.m. You stay in bed for a few minutes, then you sit up with your back supported. You wait 5 minutes without checking your phone. Then you measure manually for 60 seconds at your wrist.
You take two readings, separated by 1–2 minutes, and record the average. You also note that on one day you slept poorly and went to bed late. Over 10 days, your RHR averages around 58–60 bpm. When you later see a week where the average rises to 62–63 bpm and you also had a couple of late nights, you can connect the dots instead of guessing.
That’s the value of consistent measurement: your data becomes interpretable.
When to pause and consider medical guidance
RHR can change for many reasons, including temporary factors like illness or medication effects. If you notice a sustained, unusual change—especially if you feel unwell, have symptoms like chest pain, fainting, severe shortness of breath, or persistent palpitations—consider speaking with a healthcare professional rather than trying to self-correct based only on tracking.
Measurement accuracy helps, but it doesn’t replace clinical evaluation when symptoms are present.
Quick checklist before you record
- Measured at the same time each day (ideally right after waking).
- Rested quietly for 5 minutes before counting.
- Used the same posture each time.
- Counted for 60 seconds (or ensured your wearable reading stabilized).
- Took two readings and averaged them.
- Recorded date/time and any factors that could affect RHR.
- Evaluated trends using 7–14 day averages.
If you follow this routine for two weeks, you’ll have a baseline you can trust—and you’ll be much more likely to spot meaningful changes instead of normal day-to-day noise.
08.04.2026. 18:53