

Validate Wearable SpO2 ODI Accuracy at Home (Step-by-Step)

Goal: confirm whether your wearable’s SpO2 ODI readings are believable
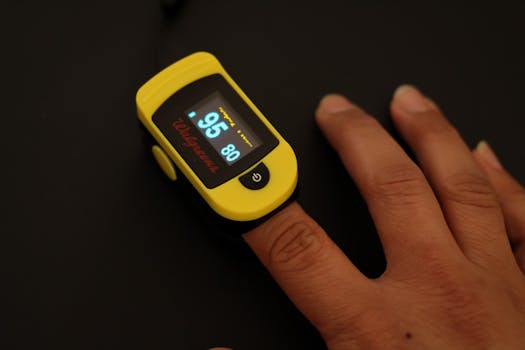
You can’t fully “calibrate” a wearable at home the way a medical lab can, but you can validate whether your device’s SpO2 and ODI (oxygen desaturation index) behave consistently and plausibly under controlled conditions. That’s the difference between “it seems accurate” and “I know what it’s doing.”
This guide helps you validate wearable SpO2 ODI accuracy at home using a repeatable setup, a reference measurement approach, and a clear scoring method. You’ll check how stable the readings are, how they respond to known changes, and whether the ODI pattern makes sense for your situation.
You’ll also learn what to do when readings look wrong—because most “accuracy failures” come from sensor placement, motion, skin conditions, or misunderstanding how ODI is calculated.
Prepare your setup: what you need before you start
Before you test, gather the items below. The goal is to reduce variables so your wearable is the main thing changing.
- Your wearable that reports SpO2 and ODI (or at least SpO2 time series from which you can infer desaturation events).
- A reference SpO2 measurement for comparison. Options include a clinical-grade fingertip pulse oximeter or a hospital-style device if you have access. If you only have consumer devices, that’s still useful for consistency checks.
- Two pulse oximeters if possible: one for your reference and one as a second reference to confirm repeatability.
- Skin prep: alcohol wipes or mild soap, and a clean towel. Cold fingers and lotions can affect readings.
- A warm, stable environment: aim for 20–25°C (68–77°F). Avoid testing right after a hot shower or right after vigorous exercise.
- A timer (phone stopwatch) and a way to note times of key events (10–15 seconds is enough).
- Comfortable position: sit or lie still. For best results, keep your arms supported.
- Optional but helpful: a pulse oximeter probe with a longer cable so you can keep it still while you wear the wearable.
Important safety note: Do not attempt to artificially force low oxygen levels. You’re validating measurement behavior, not training for hypoxia. Use natural, safe conditions (rest, mild breath-hold only if you already tolerate it well, or controlled airflow changes that do not cause distress). If you have COPD, severe asthma, heart failure, or any condition where oxygen drops are risky, skip any provocation and focus on stability and consistency checks.
Step 1: understand what your wearable is actually reporting (ODI settings matter)
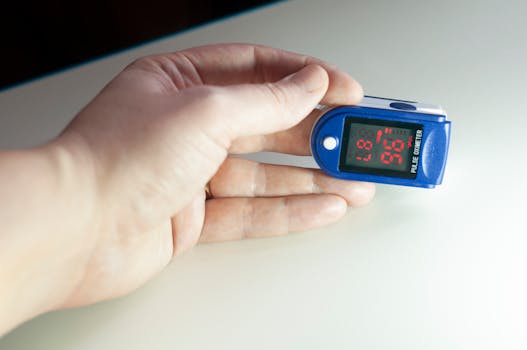
ODI can be calculated using different thresholds. Many devices use 4% desaturation events (ODI4) or 3% desaturation events (ODI3). Some report ODI based on proprietary smoothing and minimum event duration rules.
Locate your device’s app settings or manual and note:
- The desaturation threshold used (e.g., 3% or 4%).
- The minimum drop size and the minimum duration (if stated).
- Whether it uses a rolling average or raw SpO2 points.
- Any “sleep mode,” “altitude mode,” or “accuracy enhancement” feature.
Write these down. Later, when you compare results, you’ll know whether you’re comparing like-for-like.
Step 2: baseline your measurements at rest (stability check)
Your first validation target is stability. If SpO2 jumps wildly while you’re still, ODI will be unreliable too.
Do this in a quiet room for 10 minutes:
- Warm your hands: sit for 5 minutes with your hands relaxed. Cold extremities can cause false low readings.
- Clean sensor areas: wipe the fingertip area for the reference device and the wearable’s contact area (if it’s a watch/strap, wipe the skin where the sensor touches).
- Position consistently: keep your arms supported so you don’t fidget. Motion ruins pulse oximetry.
- Start the reference oximeter. Record the displayed SpO2 and pulse rate at 1-minute intervals (e.g., at 1, 2, 3…10 minutes).
- Start your wearable recording at the same time. If your wearable only captures during sleep, you’ll use a “manual measurement” or “SpO2 session” mode if available.
- Observe the trend: note whether the readings settle and how much they fluctuate (for example, SpO2 staying within a narrow band like 96–98% rather than bouncing between 92% and 99%).
Practical scoring: For each device, calculate the range (max minus min) of SpO2 over the 10 minutes. A wearable that’s “working” for your body and fit should show a relatively tight range while you’re motionless.
Real-world scenario: You test after a long day at your desk. Your wearable is on snugly, but your reference finger oximeter shows stable 98% while your wearable oscillates between 93–97%. That pattern often points to poor strap fit, sensor contact issues, or movement artifacts. You can fix this before you trust ODI numbers.
Step 3: check alignment and fit (sensor placement validation)
Now you’ll isolate whether the wearable’s placement is the main problem. You’ll re-run the baseline test with intentional changes.
- Keep the reference device unchanged (same finger, same position) so your comparison stays valid.
- Adjust wearable placement by small increments. For a wrist device, try:
- Move the watch 1–2 cm up or down.
- Tighten slightly so it doesn’t slide, but don’t compress uncomfortably.
- Ensure the sensor sits flat against your skin.
- Repeat a 5-minute rest period for each placement.
- Record SpO2 range for your wearable in each placement. The best placement will reduce fluctuation and better match the reference’s stability.
- Pick the best-fit method and use it for the rest of your validation.
If you find that only one placement gives believable stability, that’s a valuable result. Many “inaccurate ODI” complaints are really “inconsistent sensor contact.”
Step 4: perform a safe response test (natural desaturation challenge without risk)
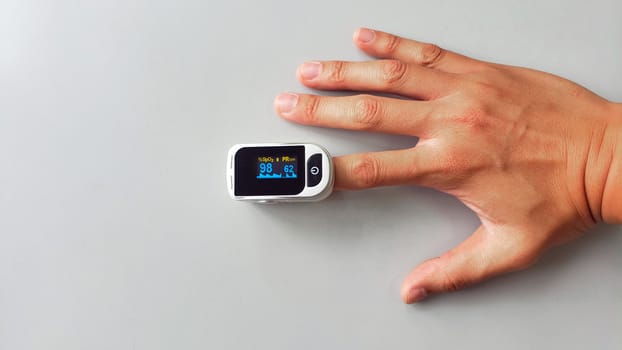
Next, you’ll test how both devices respond when oxygen saturation changes slightly. The key is to do this safely and without forcing dangerous levels.
Choose one of these approaches. If you have any medical risk factors or feel unwell, skip provocation and move to the stability-only validation.
Option A: brief, controlled breath-hold (only if safe for you)
- Start from a stable baseline: confirm your reference SpO2 is stable for 2–3 minutes.
- Do one breath-hold of 10–15 seconds at most. Do not force it. Stop immediately if you feel dizzy, panicky, or uncomfortable.
- Resume normal breathing immediately after the hold.
- Repeat 3 times with at least 2 minutes of normal breathing between attempts.
- Note the timing (start of hold and end of hold) so you can align events between devices.
What you’re looking for: both devices should show a small drop during the breath-hold and return toward baseline after. ODI is about desaturation events, so this response behavior matters.
Option B: mild airflow change (safer than breath-hold)
If breath-holds aren’t comfortable, you can do a gentle provocation that may slightly influence readings without extreme hypoxia. Only do what feels safe.
- Start at rest with stable readings for 2–3 minutes.
- Change breathing pattern for 1–2 minutes (for example, slower breathing or a brief period of shallow breathing). Avoid hyperventilating.
- Return to normal breathing and wait until readings stabilize again.
- Repeat once to confirm repeatability.
Again, you’re validating behavior, not chasing big drops.
Step 5: compare SpO2 and event timing (the practical “ODI reality check”)
Now you’ll compare what happened during your provocation and how your wearable translates it into ODI.
- Extract wearable data: open your wearable app and look for SpO2 graph, event markers, or ODI summary for the session.
- Extract reference data: if your reference device doesn’t store data, use your recorded readings and note approximate drops around the timing you logged.
- Align events: compare the moment you began the breath-hold (or airflow change) with the first noticeable drop on both devices.
- Check magnitude: note whether the reference drop size resembles what your wearable shows. For example, a small change like 98% to 96% should not appear as a large drop like 98% to 90% on the wearable.
- Check ODI logic: if your wearable reports ODI4, ask whether your observed desaturations actually meet a 4% drop threshold. If your wearable reports ODI4 events but your reference never shows a 4% drop, that suggests the wearable may be overcounting artifacts.
Common pattern you might see: Your reference shows stable SpO2 with minimal fluctuation, but your wearable shows several desaturation events clustered around times you moved your wrist. That usually indicates motion artifact rather than true oxygen changes.
Step 6: run a “repeatability” session (validate that accuracy holds across nights)
Validation isn’t one test. It’s whether the wearable behaves consistently across similar conditions.
Do two sessions on separate days:
- Use the same strap placement you determined in Step 3.
- Keep your activity similar before sleep or the measurement window. Avoid testing immediately after exercise or alcohol.
- Maintain skin conditions: clean skin, no heavy lotion, and dry contact area.
- Repeat the baseline rest check for 5 minutes before your main measurement.
- Collect ODI and SpO2 summary from the wearable for each session.
- Compare the direction of change: if one night shows ODI of 2 and the next shows ODI of 25 while your baseline stability was similar, you should investigate what changed (fit, sleep position, strap looseness, sensor contact).
If your wearable’s ODI swings wildly without any plausible reason, the device may be sensitive to artifacts in your specific use case.
Step 7: interpret results correctly (avoid misreading what ODI means)
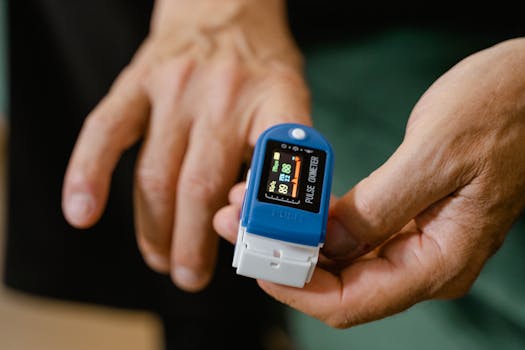
ODI is not “how low your oxygen went.” It’s a count of desaturation events meeting a threshold within a time window. Two people can have the same average SpO2 but very different ODI depending on event frequency.
When you interpret your validation:
- If ODI is high but your baseline SpO2 is stable and your provocation tests show only small changes, suspect artifact-driven event detection.
- If ODI is low and your provocation doesn’t create threshold-level drops, that can be normal—especially if your wearable uses ODI4 or smoothing.
- If your reference shows occasional drops and your wearable shows events at matching times, that’s a good sign of event timing alignment.
Practical example: You sleep with your wrist device slightly loose. During the night, the wearable reports ODI4 = 18. You repeat the next night with the strap snug and sensor aligned. ODI4 drops to 6. Your baseline rest stability also improves. That change likely reflects motion/contact quality rather than a sudden physiological improvement.
Common mistakes that ruin SpO2/ODI validation at home
- Testing when your hands are cold: cold skin can reduce perfusion and cause false low readings.
- Comparing different times: if your reference device is on a finger while your wearable is on the wrist, you must compare during the same window and log timing for events.
- Assuming ODI thresholds are identical: ODI can be ODI3 vs ODI4, or use different smoothing and minimum duration rules.
- Moving during the test: even small wrist movements can create photoplethysmography noise and phantom desaturation events.
- Wearing the device too loose: if the sensor slides, the signal quality drops. Snug is not the same as tight—comfort matters.
- Using lotions or sunscreen: these can change optical properties and reduce sensor contact quality.
- Expecting perfect agreement: even good devices rarely match within 1% at every second. What you want is plausible magnitude, stable behavior at rest, and event detection that makes sense.
- Forcing unsafe breath-holds: don’t push it. If you feel unwell, stop and rely on stability validation only.
Additional practical tips to improve accuracy and make your validation more meaningful
Once you validate your wearable’s behavior, you can improve the quality of future readings and get more trustworthy ODI trends.
Optimize sensor signal quality before you test
- Dry skin first: wipe away sweat before starting. Moisture can slightly change contact and cause slipping.
- Use the same finger for the reference (if using a fingertip device) and keep it at heart level.
- Avoid bright sunlight directly on the sensor area. Indoor lighting is usually fine, but strong light can interfere.
- Check for nail polish or artificial nails on the reference device finger; they can affect optical measurement.
Choose measurement windows that match how your wearable calculates ODI
If your wearable only generates ODI during sleep, validate during a sleep session rather than a random daytime “SpO2 check.” Many devices apply different filtering or event detection logic depending on the mode.
If you can run “manual” SpO2 sessions, use those sessions to validate stability first, then rely on sleep sessions for ODI interpretation.
Use a consistent routine for 3–5 nights
To see whether ODI is stable and meaningful for you, run a short validation period:
- Test for 3–5 nights with the same strap placement method.
- Keep bedtime within ±60 minutes of your usual schedule.
- Avoid alcohol the night before if you’re trying to assess “baseline” behavior.
- Note sleep position (back vs side). If ODI rises mostly when you sleep on your back, that pattern is often physiologically plausible, not necessarily inaccurate.
Look for “artifact signatures” in the SpO2 graph
If your wearable shows a SpO2 trace, pay attention to these visual cues:
- Sharp zig-zags during movement and then immediate stabilization when you become still.
- Repeated tiny dips that never fully recover but also don’t match reference behavior.
- Frequent events clustered around strap shifts (for example, when you adjust the watch during the night).
These are often signs your ODI is counting noise rather than true desaturation events.
When it helps to consider different wearable brands or models (soft guidance)
If your validation consistently shows poor event agreement—even with careful fit and stable conditions—it may be worth trying a different wearable style. For example, devices with improved sensor placement, better motion filtering, or a more transparent ODI definition sometimes produce more consistent results. You don’t need to replace everything immediately; you can also borrow a device from a friend for a single validation day if that’s feasible.
If you’re shopping, prioritize transparency: look for documentation that states ODI threshold (e.g., ODI4), how they filter SpO2, and whether they provide an SpO2 time series. That information makes validation easier and reduces the chance you’re comparing mismatched logic.
Use validation outcomes responsibly
If your wearable consistently suggests frequent desaturations that don’t match your expectations—especially if you also experience symptoms like morning headaches, excessive daytime sleepiness, witnessed pauses in breathing, or high blood pressure—use your validation as a reason to discuss results with a clinician. At-home validation is not a diagnosis.
However, it can help you decide whether your wearable data is trustworthy enough to bring to an appointment.
What “good enough” validation looks like after you finish
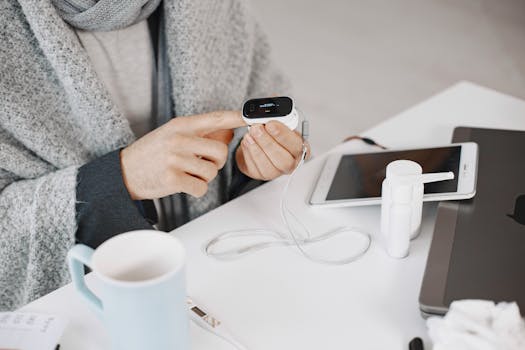
After completing the steps above, you should be able to answer three questions clearly:
- Stability: Does your wearable SpO2 remain reasonably consistent when you’re still?
- Fit sensitivity: Does changing strap placement meaningfully improve agreement and reduce false event spikes?
- Event logic: When you cause a small, safe change (or observe natural changes), do wearable ODI events match the reference’s timing and approximate magnitude, given the ODI threshold?
If the answer is yes to the above, your wearable is likely measuring in a way that’s useful for trend tracking. If the answer is no, you can still use the wearable—just adjust expectations, improve fit, and rely on stability checks rather than trusting every ODI count.
Quick checklist you can follow on test day
- Skin is clean and dry; hands are warm.
- Reference device is placed consistently and at heart level.
- Wearable is snug, sensor sits flat, and you avoid wrist motion.
- You log timing for any safe provocation (or you skip provocation and do stability only).
- You confirm whether ODI threshold is ODI3 or ODI4 and interpret accordingly.
- You repeat at least once to check repeatability.
23.04.2026. 04:52